


The Photos app in iPadOS has a host of useful image correction tools. Here’s how to use your iPad to turn color photos into black and white.
The iPad has been a boon for photographers and tourists alike. The ability to snap and view high-res photos with the device while on the go is a modern marvel. The ability to instantly share photos with others over the internet is also amazing.
Sometimes you want to send a black and white version of a color photo to someone without having to copy the photo to your desktop computer to edit first.
The hidden controls in the Photos app in iPadOS make this easy to do.
Getting started
To turn a color photo into a black and white photo on iPadOS, first open the Photos app by tapping on it in the Home Screen. This opens Photos and displays all the photos and screenshots on your iPad:
Next, tap the color photo you want to convert into black and white. This opens the photo in the photo viewer/editor:
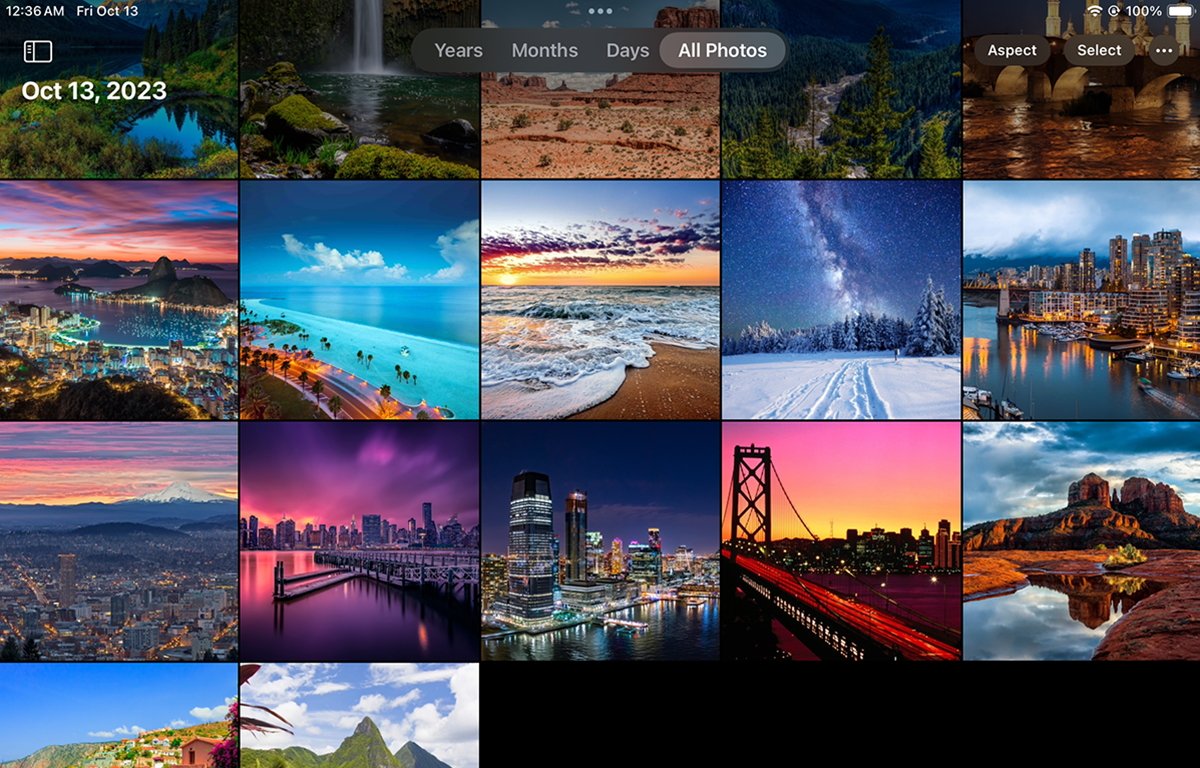
Selet a photo by tapping.
Adjustment controls
On the right-hand side of the display you’ll notice a vertical column of tick marks along with a sliding column of circular buttons to the left. The column of controls slides up and down with a swipe of your finger. To select a control for use, slide the column up or down until the control you want is centered on the middle tick mark to the right.
In this example, we’ll select the Saturation control. Slide the controls until the Saturation control centers over the middle tick mark. A tool tip appears to the left of the control to tell you which one is active:
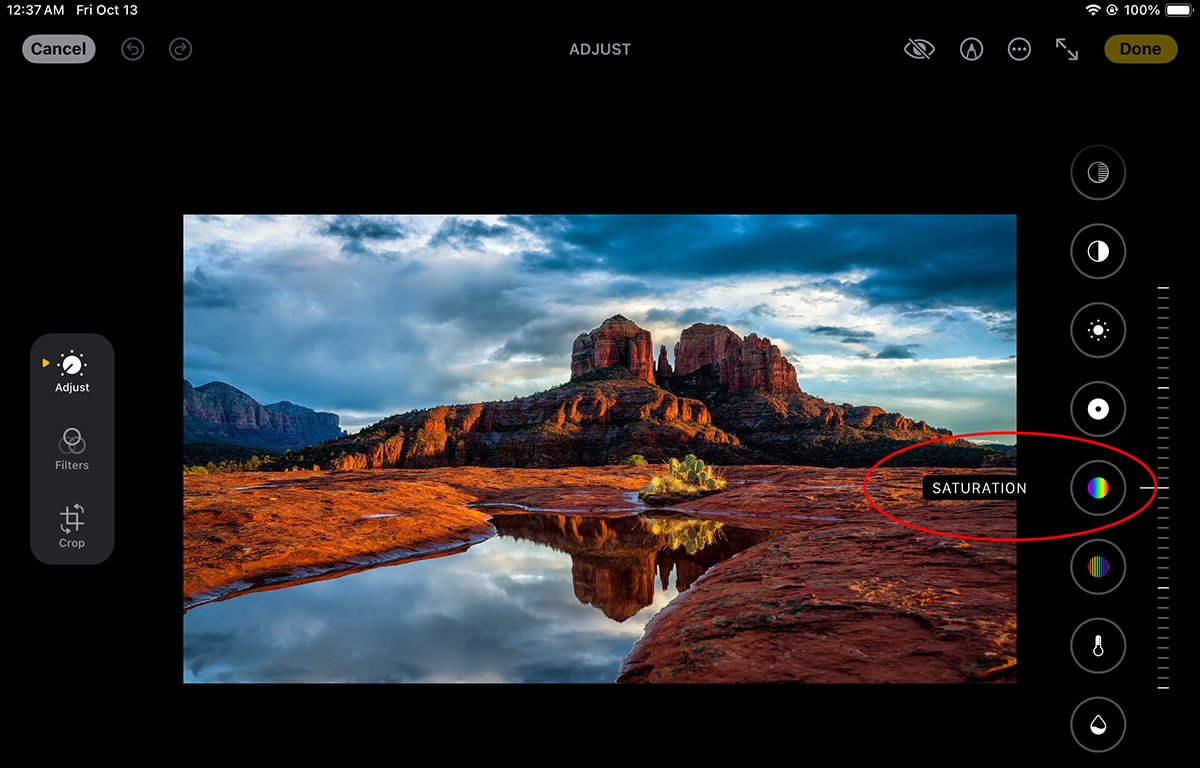
Slide the controls to select the Saturation control.
Once the Saturation control is selected, slide the tick marks up or down to increase or decrease the color level in the photo. To turn a color photo black and white, slide the scale until -100 saturation is reached:
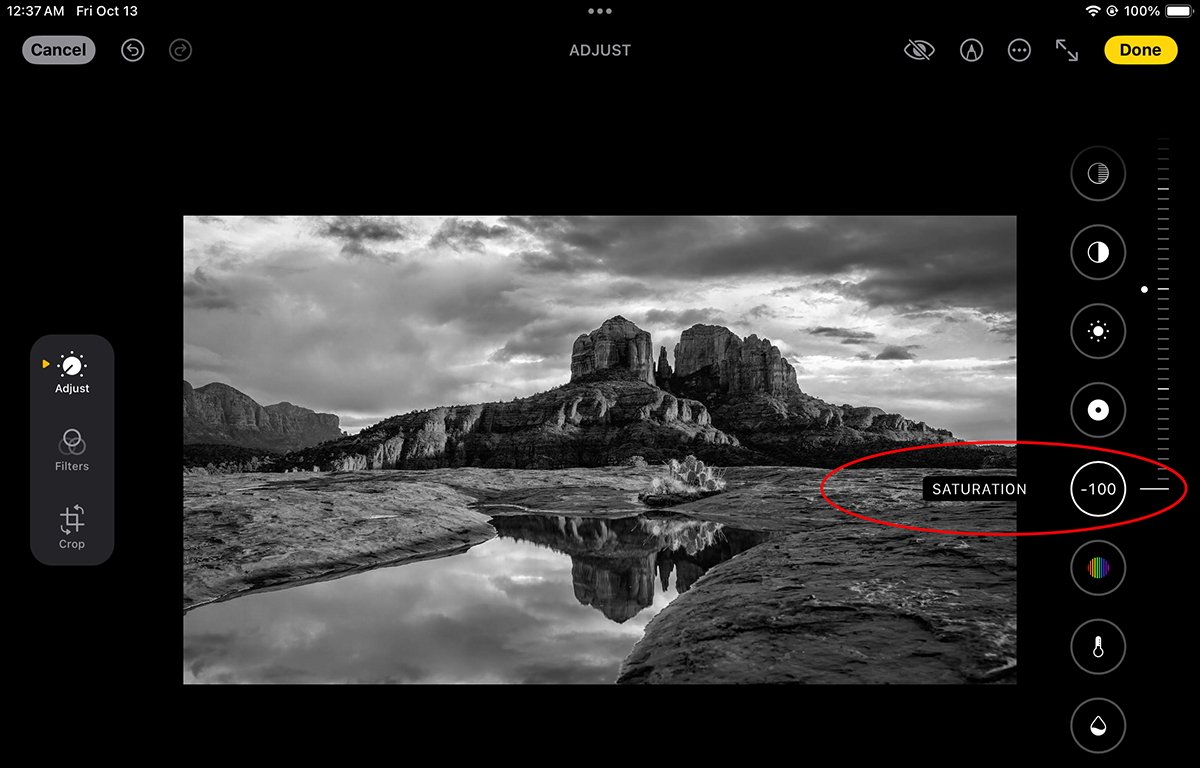
Select -100 Saturation to turn a photo black and white.
When satisfied with the results, tap the Done button in the top right corner of the display. This saves the photo back to the Photos library with its new color settings.
You now have a black and white photo.
Photo duplication
Edits you make in Apple’s Photos app are non-destructive — you can undo them whether that’s right away, tomorrow, next year or whenever.
It’s a quite crude undo, though, an all or nothing undo. If you change the saturation, and then make dozen other changes like cropping, Apple Photo’s undo will change everything back to the original. So it’s not possible to just undo one change you don’t like, you have to undo the lot and start again.
Even though the Photos changes are nondestructive so you can go back to the original, it’s better to make a copy before you start work. This way you keep both the color and the monochrome versions and don’t have to undo anything to go back.
If you want to save a copy of your color photo first in the Photos library before converting it to black and white, simply press and hold on any photo in the library thumbnails view. A popup menu appears containing a Duplicate item.
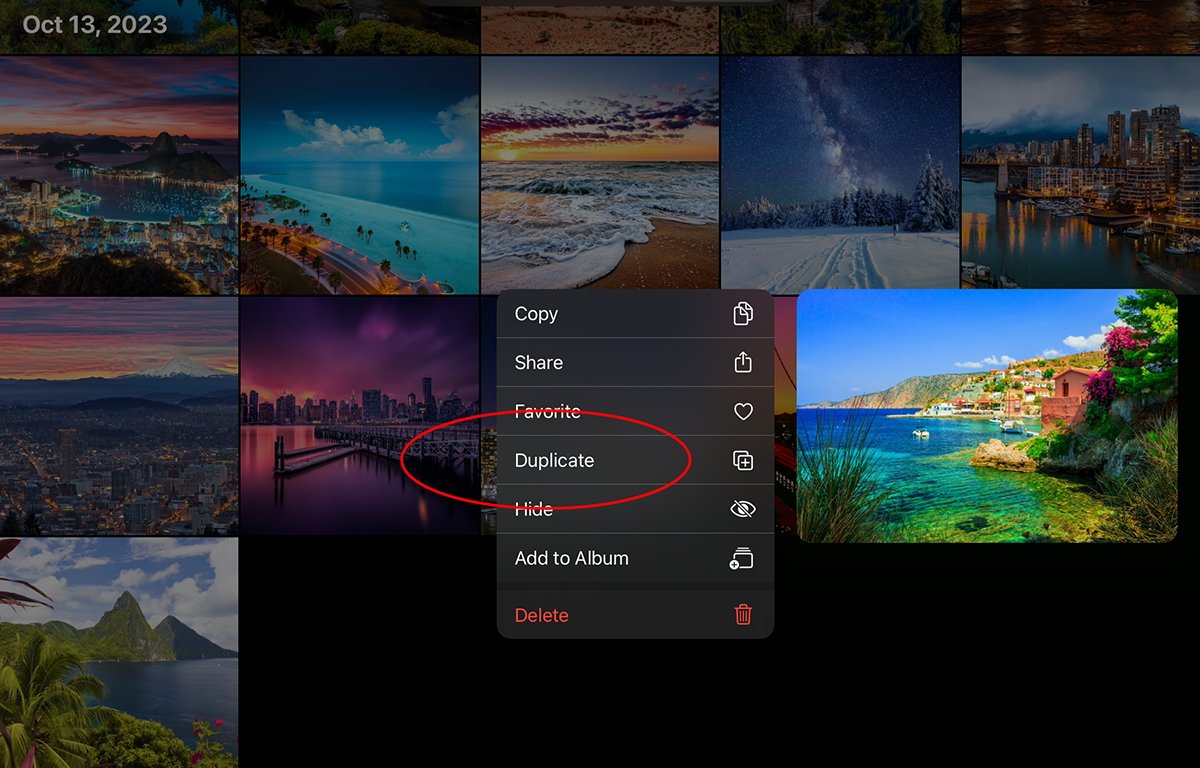
Press and hold to Duplicate a photo.
Tap Duplicate to make an exact copy of the photo. You now have two copies – one of which you can convert to black and white and save.
iPadOS makes photo adjustments a breeze and is incredibly easy to use. Computer photo editing has reached new heights in iPadOS and you’ll definitely want to check out the adjustment controls some more to discover all of iPadOS’s capabilities.
Leave a Reply