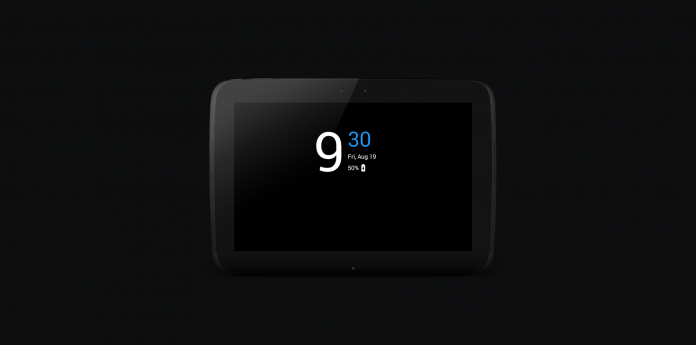
The always-on display is one of the most useful features in the Samsung Galaxy devices. The always-on display basically displays time, date and allows you to have a quick glance on other information like notification icons, alarms or reminders. All of this, of course, without turning on your entire screen every time.
This feature is based on the logic that OLED displays do not require much power for displaying black pixels. Since only a portion of your screen is lit up when you are using the Always-on display and the rest is just a black screen, only a fraction of battery life would be consumed. The good news is, you can also try out this cool Always-on display feature on your Android device if it has an OLED display, even if it is not a Samsung device.
Here is how to get the Always-on Display feature on Samsung Galaxy flagship devices on your Android device.
Note: The always-on display is also available on the Google Pixel devices, however, Google has named it as ‘Ambient display’. It also works similar to the Always-on display on the Samsung devices and you can enable it on Google Pixel device by going to Settings->Display->Advanced and then selecting the Ambient display option.
How to get an always-on display on your Android phone
Step 1: Install the app
First, download and install the Always-On AMOLED – BETA app from the Google Play Store on your Android device.

Step 2: Initial setup
Once the app is installed, open the app from your app drawer and then follow the on-screen instructions to proceed through the initial app setup process.
This includes providing permissions for the app to access your notifications and appear on top of other apps to be able to successfully display your notifications on the Always-on display once you lock your Android device.
Step 3: Enable the Always-on display
After finishing the initial setup process, you will be taken to the main page of the app where you can enable the first option to enable the Always-on display service on your device.

Step 4: Adjust time-based or battery based settings
Once you have enabled the Always-on display, you can now modify the settings according to your personalized requirements. For instance, there is an option to enable the feature only during a particular time period of the day or only when your device is charging or enable it only when your device’s battery level is over a specified amount.

Step 5: Add gestures
You can also add gestures to your Always-on display, even though the options are limited, you can still configure the gestures to turn on your screen, dictate the current time and notifications and even for toggling the flashlight on or off.
The gesture actions include swiping up or down, double tapping and you can also configure the gestures to the volume or back buttons based on your device.
Step 6: Customize the Always-on display
There are also lots of customization options available where you can choose between different clock faces and data styles along with different background wallpapers. While the free version has limited background options, you can purchase the pro version to get your hands on a few more options.
You can also change the font face, color, and size of the date and other information displayed on the always-on display screen. The app even allows you to add other additional information like the weather forecast, music controls, and even a memo text of your choice.
Step 7: Brightness options
Once you have customized the always-on display according to your preference, you can also modify the brightness level according to the time of the day or just set it to auto brightness mode to save the battery life.

There is also an auto night mode which automatically dims the display according to the environment and a battery saver mode to reduce the battery consumption of the app based on your usage.
Step 8: Notifications
You can also set up the app to display notification icons and contents from all the installed apps on your device. The advanced notifications control option also allows you to add additional controls to your notifications like a long press for a quick overview or swipe the notifications to pin them.
The app also has a notification and pick up wake options under the Ambient display settings, which will only wake your device’s screen when you pick it up or when you receive a notification based on your preference. This might also significantly reduce battery usage by the app.
Step 9: Preview and final steps
After you have configured the always-on display according to your personal preference and have applied all the customization options, you can preview it by selecting the play icon at the bottom right corner of the screen.

You can modify the settings at any times if you did not like the preview and enable the always-on display option once you are happy with the output.
If your Android device is rooted, you can also enable the Doze mode from the advanced settings in the app. The Doze mode will automatically put all the background apps to sleep when the always-on display is active on your device, thus allowing you to save battery life and also to improve the performance of your device.
To bypass the always-on display and to unlock your device, you just have to double tap on the screen. You can also access the notification and music controls from the always-on display by long pressing or swiping them.
If you notice any significant impact on your device’s battery life after you have installed this app, try clearing the app cache or uninstalling and reinstalling the app to fix the issue.


Leave a Reply